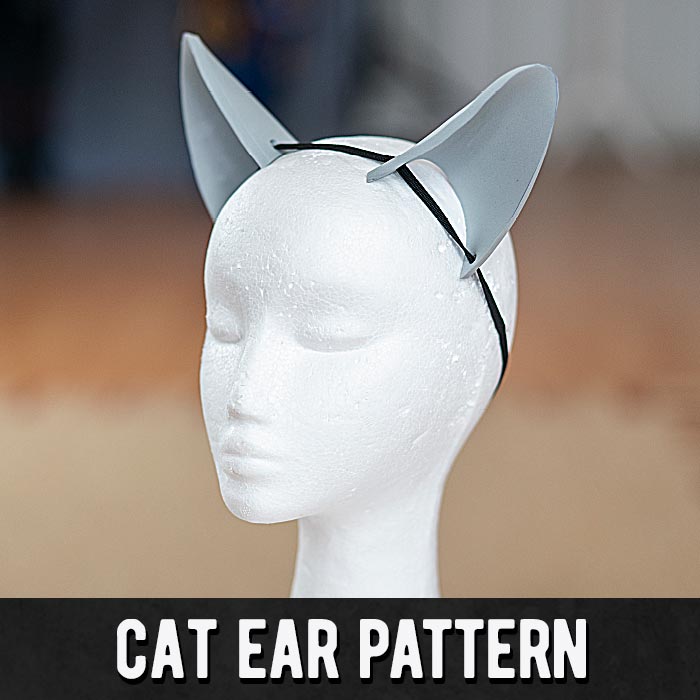
Cat Ear Pattern
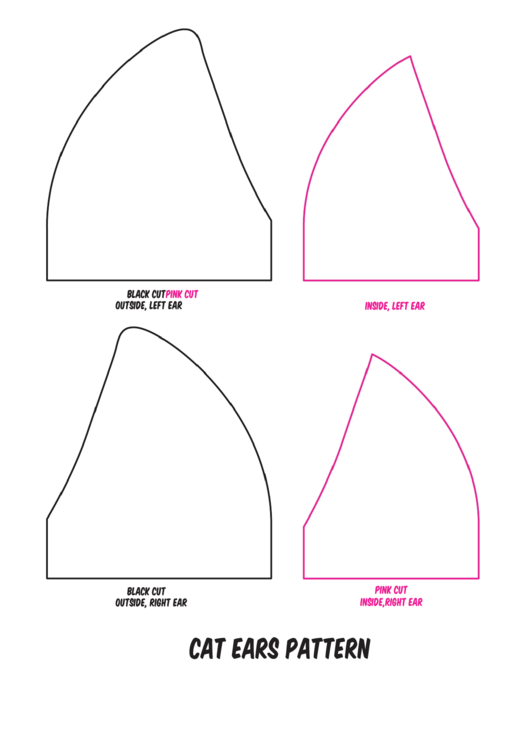
Cat Ear Pattern - Sc into each stitch across. Repeat r2 until you reach r46 or until the length of the rows fits comfortably. Web here’s the first one of our featured crochet cat ear beanie patterns that is worked in the round. Use hot glue to attach the cat ears onto the headband in the positions that you marked. Today, we're making a cozy crochet cat ear. Weave in your ends and close the one end. Attach your ears to the headband. Print the cat ear template and cut out the pieces. Line up the template on the felt and cut out 4 of the larger pieces and 2 of the smaller. This will become the length of the hat. Line them up together to make sure that they’re equal sizes. 2 colors of felt (i used brown and pink) needle and matching thread. Attach your ears to the headband. Mark and prepare the glue gun; Repeat r2 until you reach r46 or until the length of the rows fits comfortably. Turn the beanie inside out and fold up the brim. Slip stitch the two long sides together. The cat ears headband is a super fast way to make any cat costume including a black cat, tiger, or leopard! Sc into each stitch across. 3.1 cat ear headband video tutorials; Sew them together with right sides together around the sides using a 1/4″ seam allowance. Allow at least ten minutes for the glue to dry. Print the cat ear template and cut out the pieces. 3.1 cat ear headband video tutorials; Line up the template on the felt and cut out 4 of the larger pieces and 2 of the. Attach the ears to the headband. (optional) mark the center of the headband; When worn, the beanie will form small ears at the top, which can be flattened or shaped as desired. 3 making of the cat ear headband. Use just enough so that the ears stay up, but don’t use so much that the glue gets on other places. (optional) mark the center of the headband; Hdc 50 starting in the 2nd ch from the hook, turn. 2 colors of felt (i used brown and pink) needle and matching thread. Mark and prepare the glue gun; Web cat ear beanie crochet pattern. 3.1 cat ear headband video tutorials; Line up the template on the felt and cut out 4 of the larger pieces and 2 of the smaller. Add or remove chains for a slouchier or more fitted look if desired! Attach your ears to the headband. Crochet kitty cat ears beanie pattern by swellamy. Use your scissors to cut your cat ears out. Web diy cat ears headband. Ch 1, hdc blo into each st of the row (50), turn. Attach your ears to the headband. The cat ears headband is a super fast way to make any cat costume including a black cat, tiger, or leopard! Line them up together to make sure that they’re equal sizes. Line up the template on the felt and cut out 4 of the larger pieces and 2 of the smaller. Web to make the cat ear headband, you need: Slip stitch the two long sides together. Today, we're making a cozy crochet cat ear. When worn, the beanie will form small ears at the top, which can be flattened or shaped as desired. 2 colors of felt (i used brown and pink) needle and matching thread. Cut out the ear template and then cut 4 from fabric. Sc into each stitch across. Slip stitch the two long sides together. 3 making of the cat ear headband. Place your headband in the crease of your cat ears so that it sits flat. Attach the ears to the headband. The cat ears headband is a super fast way to make any cat costume including a black cat, tiger, or leopard! Attach your ears to the headband. Use just enough so that the ears stay up, but don’t use so much that the glue gets on other places on the headband or ribbon. Use your scissors to cut your cat ears out. Attach the ears to the headband. Turn, sc into second ch from hook, and into each ch. Add or remove chains for a slouchier or. Weave in your ends and close the one end. This will become the length of the hat. The rest of the hat is all double crochet stitches worked through the back loops only. Attach your ears to the headband. Use your scissors to cut your cat ears out. Use hot glue to attach the cat ears onto the headband in the positions that you marked. Turn, sc into second ch from hook, and into each ch. Web 1 how to make a cat ear headband; Sc into each stitch across. When worn, the beanie will form small ears at the top, which can be flattened or shaped as desired. Web to make the cat ear headband, you need: Line up the template on the felt and cut out 4 of the larger pieces and 2 of the smaller. 3.1 cat ear headband video tutorials; This adorable hat has cat ears for that “meow” factor, and there are delightful bow details on each ear. (optional) mark the center of the headband; Crochet kitty cat ears beanie pattern by swellamy. This delightful cat ear beanie makes the perfect gift for the chilly cat lovers in your life and will have you ‘feline’ fine even on the coldest days. Use just enough so that the ears stay up, but don’t use so much that the glue gets on other places on the headband or ribbon. Attach your ears to the headband. Hide the loose ends by pulling them inside the hat and weaving them under a few stitches using the yarn needle. Repeat r2 until you reach r46 or until the length of the rows fits comfortably.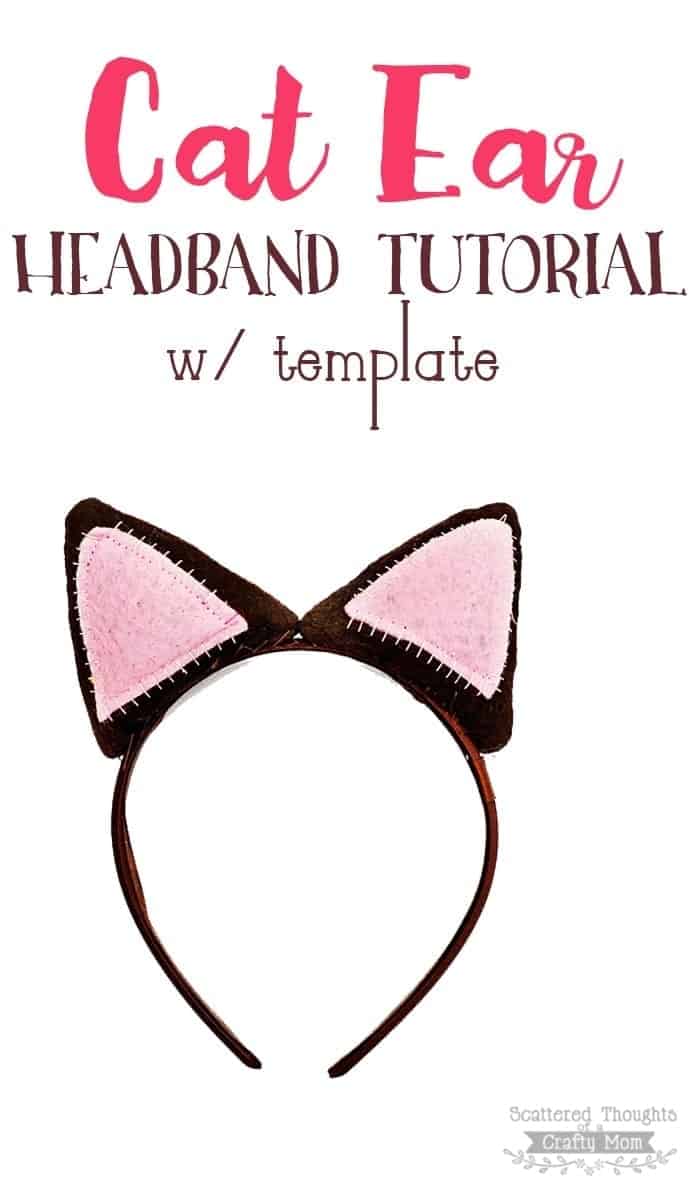
DIY Cat Ear Headband Tutorial w/ Template Scattered Thoughts of a
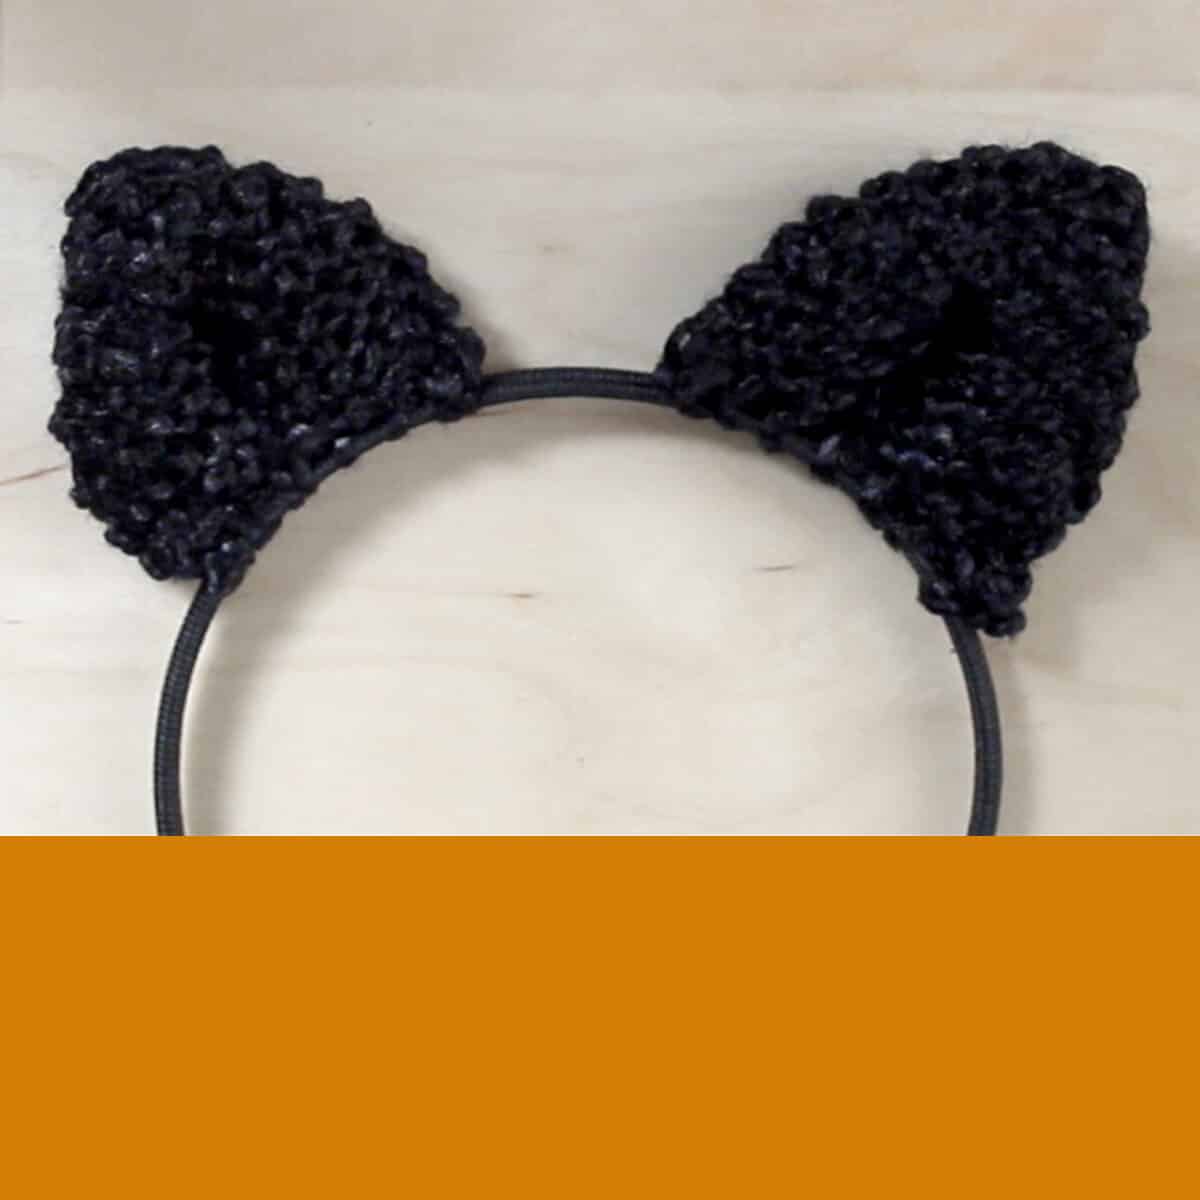
How to Knit Cat Ears Pattern Studio Knit
Cat Ear Pattern Crochet Pattern Bonanza
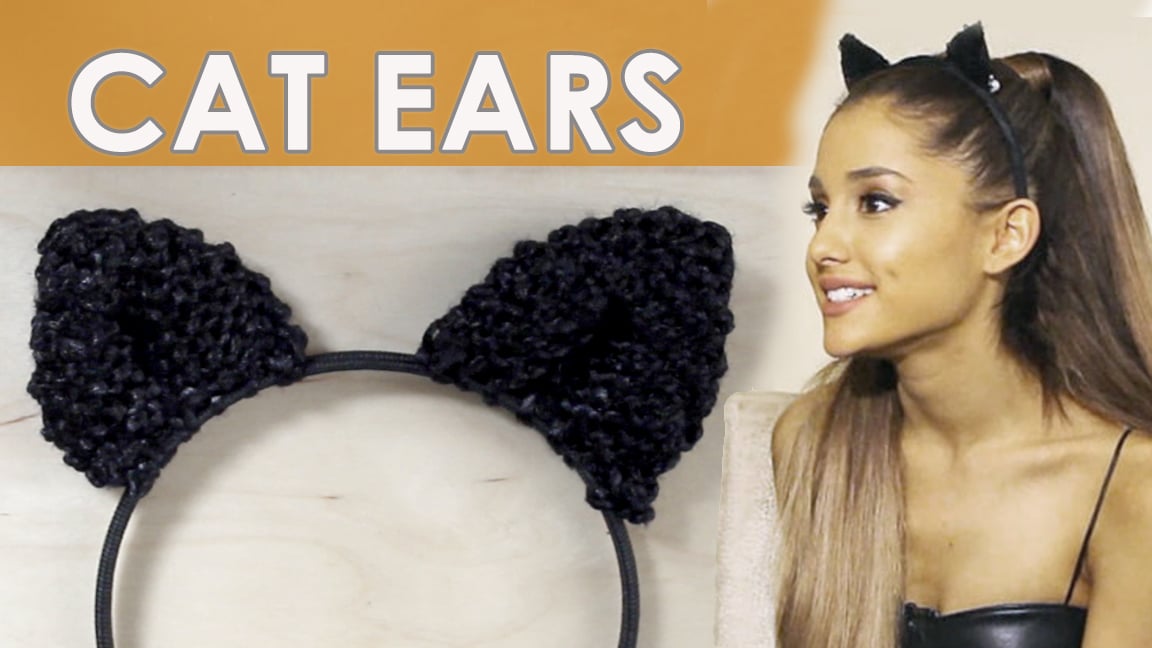
How to Knit Cat Ears Pattern with Video Tutorial Studio Knit
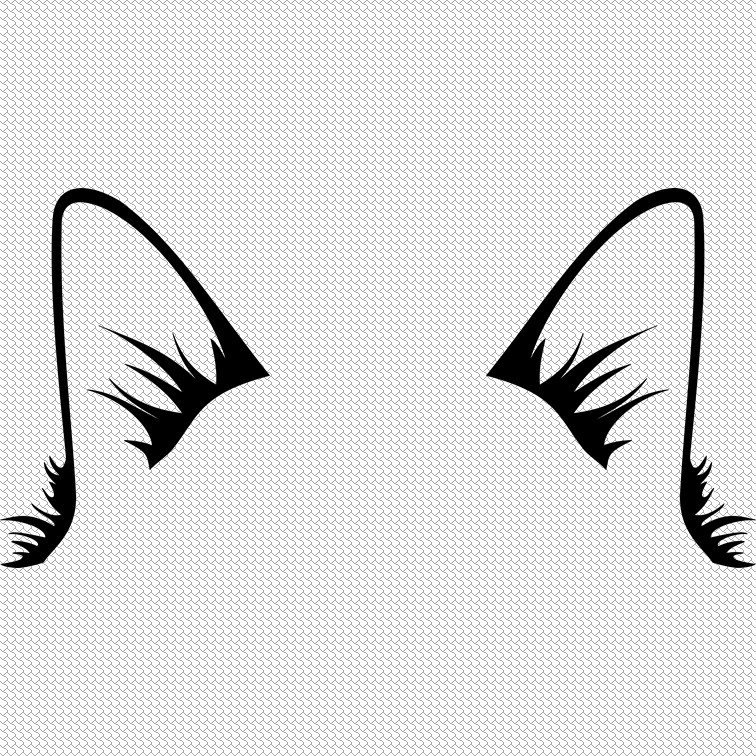
Cat Ears SVG Digital File Cute Cat Ears for Cricut Etsy

Diy Cat Ears Template
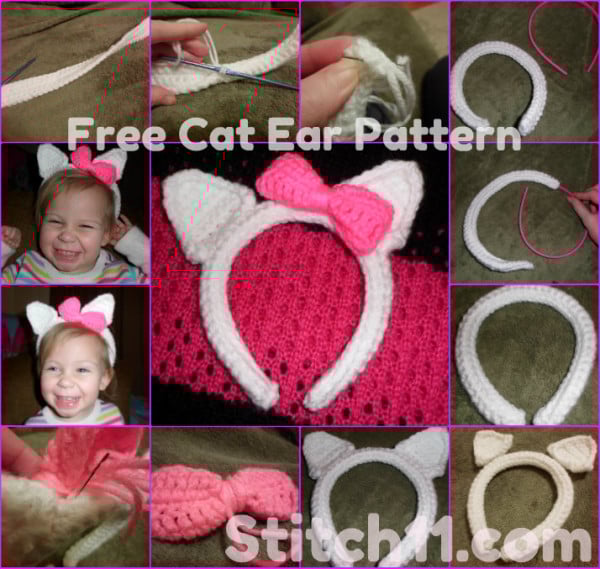
22 Crochet Cat Ears Patterns Crochet News
Printable Cat Ears Template, 1 x free printable cat’s ears template.
Top Cat Ear Templates free to download in PDF format

Printable Cat Ears Template Disney Diy, Diy Disney Ears, Diy Cat Ears
Mark And Prepare The Glue Gun;
Line Them Up Together To Make Sure That They’re Equal Sizes.
The Cat Ears Headband Is A Super Fast Way To Make Any Cat Costume Including A Black Cat, Tiger, Or Leopard!
Prepare The Cat Ear Pattern;
Related Post: